
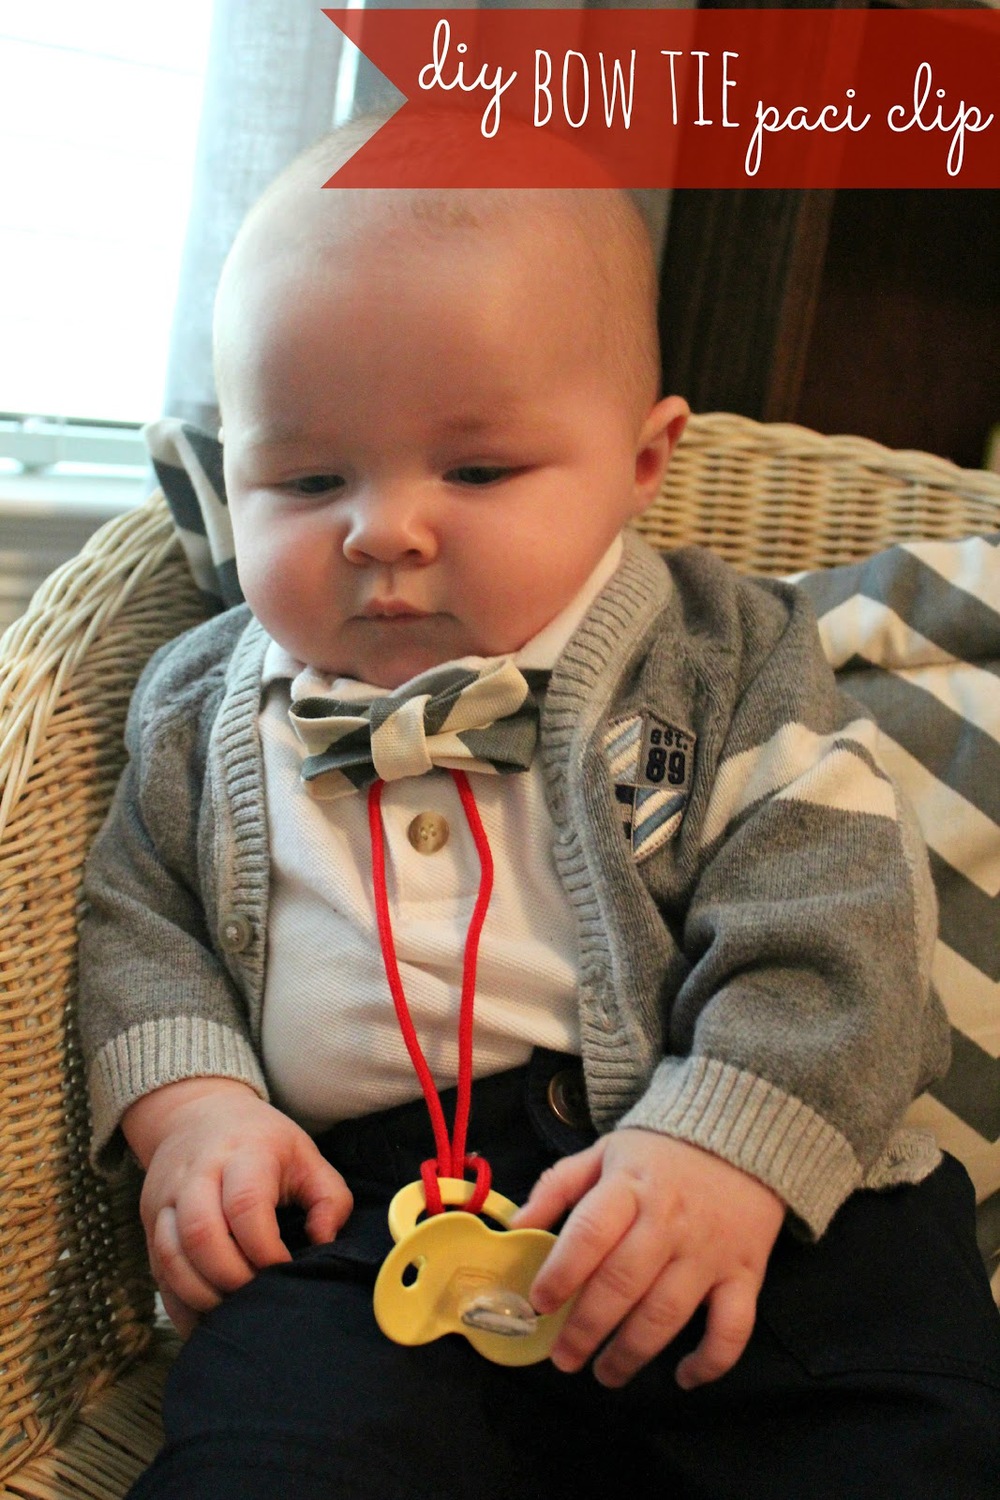
DIY (no sew) Bow Tie Pacifier Clip

We love pacifiers around these parts. We don't go anywhere, and I mean anywhere, without a paci. Or four. When my thoughtful sister-in-law, Scarlett, gave us our first batch of BooginHead pacifier clips we fell head over heels; they are the perfect fix for any paci-dropping crisis.
However....
We went to a wedding last month and as I was getting Bear ready, it hit me...there's gotta be a more dressed-up version of the pacifier clip. Something that could be worn to church, in family pictures, and on holidays that would look adorable and still do it's job: keep that paci from fallin'.
Priorities, people.

There's just something about a baby boy dressed like a little old man that's completely irresistable. When Bear's lookin' all Mr. Rogers-esque in his gray cardigan, I can't even handle it. Throw a bow tie in the mix and I'm worthless to the world. I just wanna snuggle this sweet, snazzy baby all day long.
Because of my old-man-meets-baby obsession (and because we really love bow ties around these parts), Zach came up with the idea to create a bow tie pacifier clip. It's practical, dresses up any outfit, and Bear rocks it like a champ.

There are millions (trillions!) of bows, headbands, and other accessories out there for little girls. It's much harder to find cute attire for boys; luckily these can be made easily right at home! They would make great shower gifts, too.
To make your own....
You'll need:
-fabric (about 1 ft.x1 ft.)
-scissors
-hot glue gun
-small, alligator hair clip (or bowtie clip)
-nylon cord (about 6 in.)
Directions:
Step 1: Cut a long, rectangular strip of fabric (measurements will depend on your desired bow tie size).

Step 2: Fold in both long-side edges about 1/4 inch and iron down (this keeps edges from fraying).
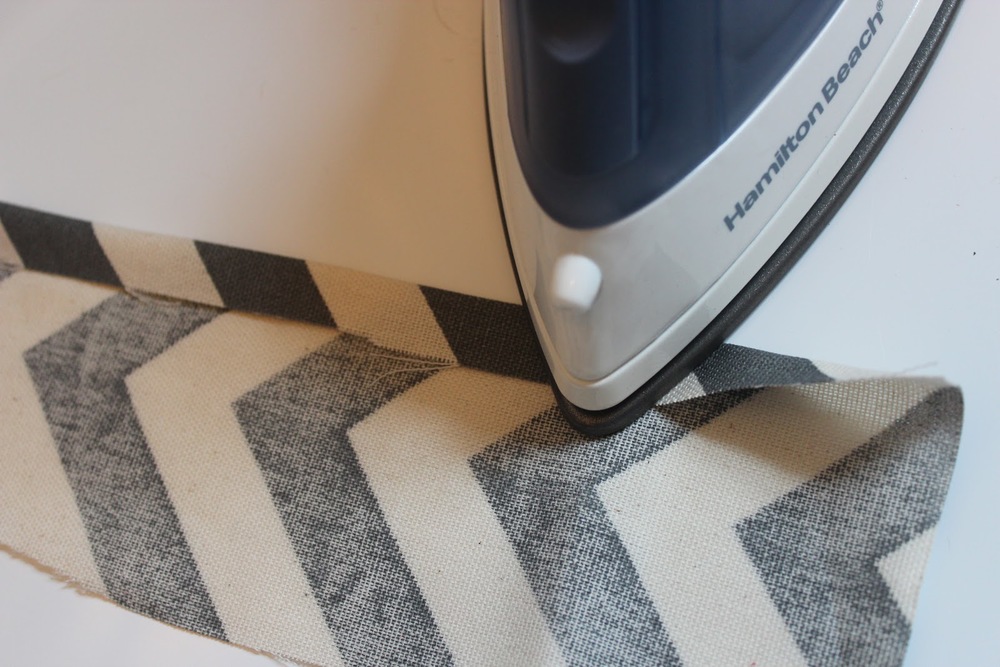
Your rectangle should look something like this after ironing.

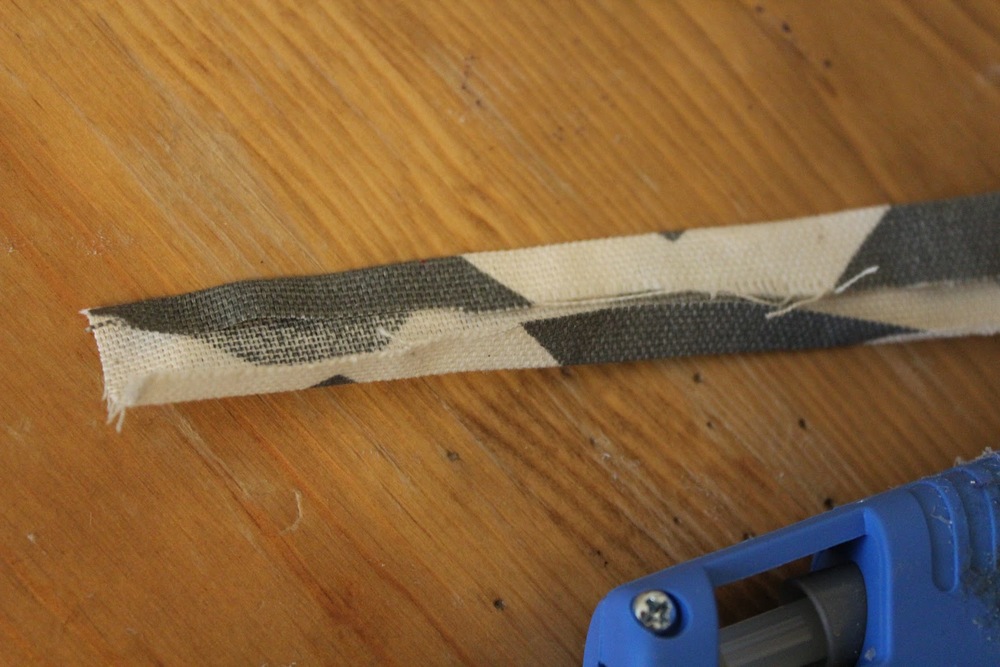
Step 3: Apply a thin layer of glue under each fold to secure.

Step 4: Fold each short-edge in toward the center.

Step 5: Cross one end slightly over the other and glue into place.

Step 6: Cut a small fabric strip (about 1x3 in.).

Step 7: Iron outter edges in (same as longer rectangle piece).

Step 8: Glue "hems" into place.
Step 9: Using your thumb and index finger, pinch center of bow and apply a dab of glue to hold it together.


Step 10: Cut a 6 in. strand of nylon cord.

Step 11: Wrap small fabric strip around bow. Glue clip to back and glue fabric onto inner clip.

Step 12: (this is tricky to explain, but easy once you're doing it) Take cord and glue underneath small fabric strip. It should be on the bottom front of the bow, where the pacifier will hang down when worn.
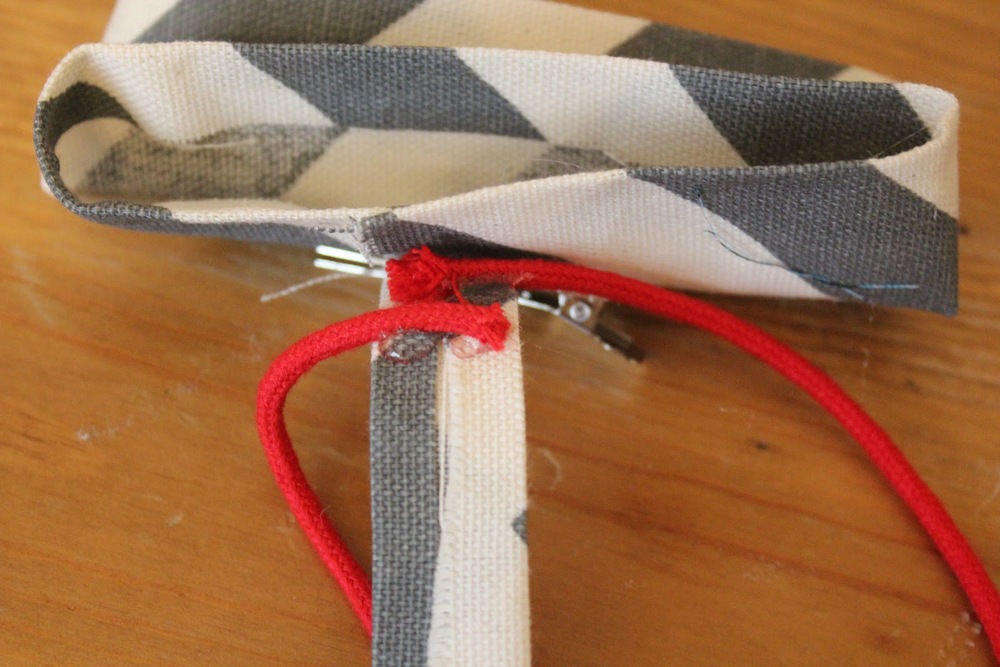
Step 13: Wrap other side of small fabric strip around bow and hot glue underneath the clip. Trim excess fabric.


Fluff out your new snazzy bow tie, attach a pacifier, and Baby is ready to hit the town!


It's a beautiful day in the neighborhood...

on Bear: cardi-The Children's Place, onesie-unknown, shorts-Baby Gap
If you want just a bow tie, no pacifier attachment, simply leave off the cord. We have several handsome little nephews that are out of pacifier-age; I'm dying to put some chevron bow ties on them! Zach, too (though he doesn't know it yet...).
Thanks for sticking with this long-winded tutorial!
TGIF, friends!