
DIY wine bottle & glass holder
If you've been around here very long, you know that Zach is fantastic at woodworking. He's fantastic at everything he tries, actually; I call him a "Zach of all trades". He draws incredibly well, and he painted the picture that hangs above our fireplace. Several years ago, he bought a lathe and completely taught himself how to use it. He seriously amazes me and I could brag about him all day long. Why can't talent be contagious? Bear already draws better than I do (thank goodness he got Zach's artistic gene).
Zach and I aren't wine drinkers, but we visited his fraternity brother's vineyard a few weeks ago and were absolutely blown away by how beautiful it was and how intricate the whole process is from grape to bottle. If you're ever in the Texas Hill Country, you've gotta make a stop by William Chris Vineyard. Everything about it is amazing and a true Texas treasure.
When we got back home, Zach wanted to make and send his buddy Chris a few things for generously hosting us. This is one of the projects he whipped up; I loved it so much I wanted to share with y'all, too!


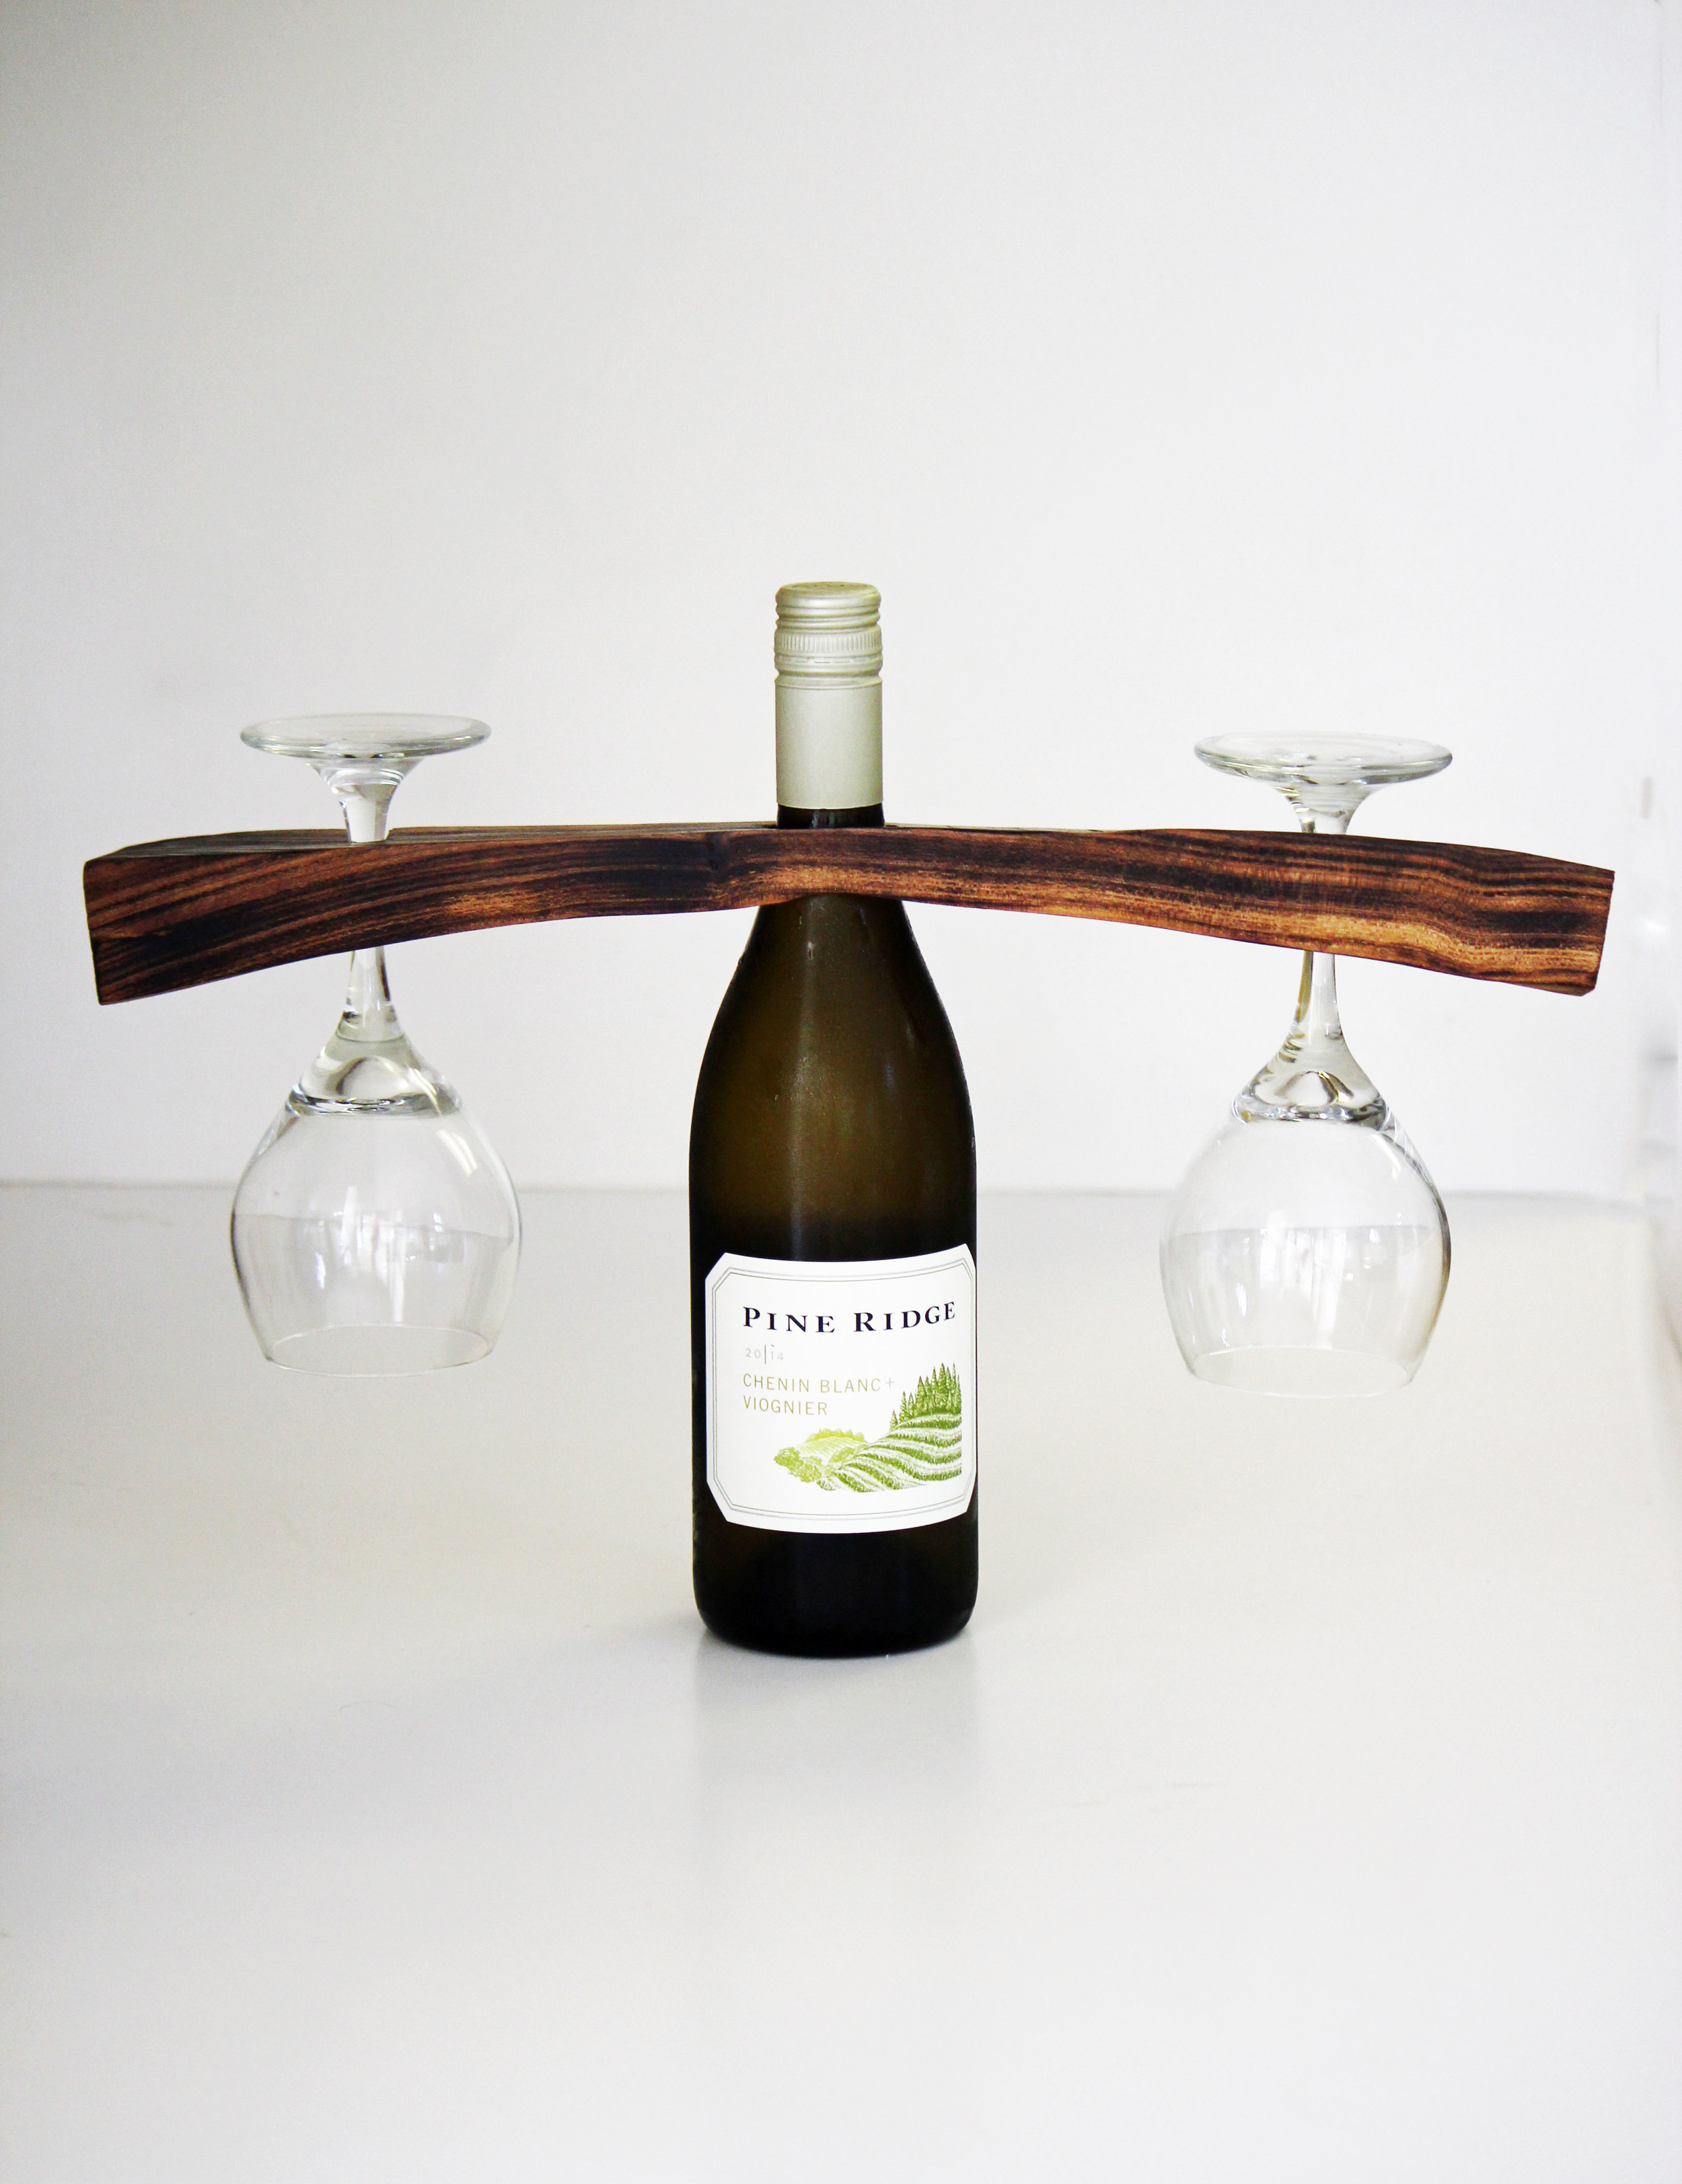
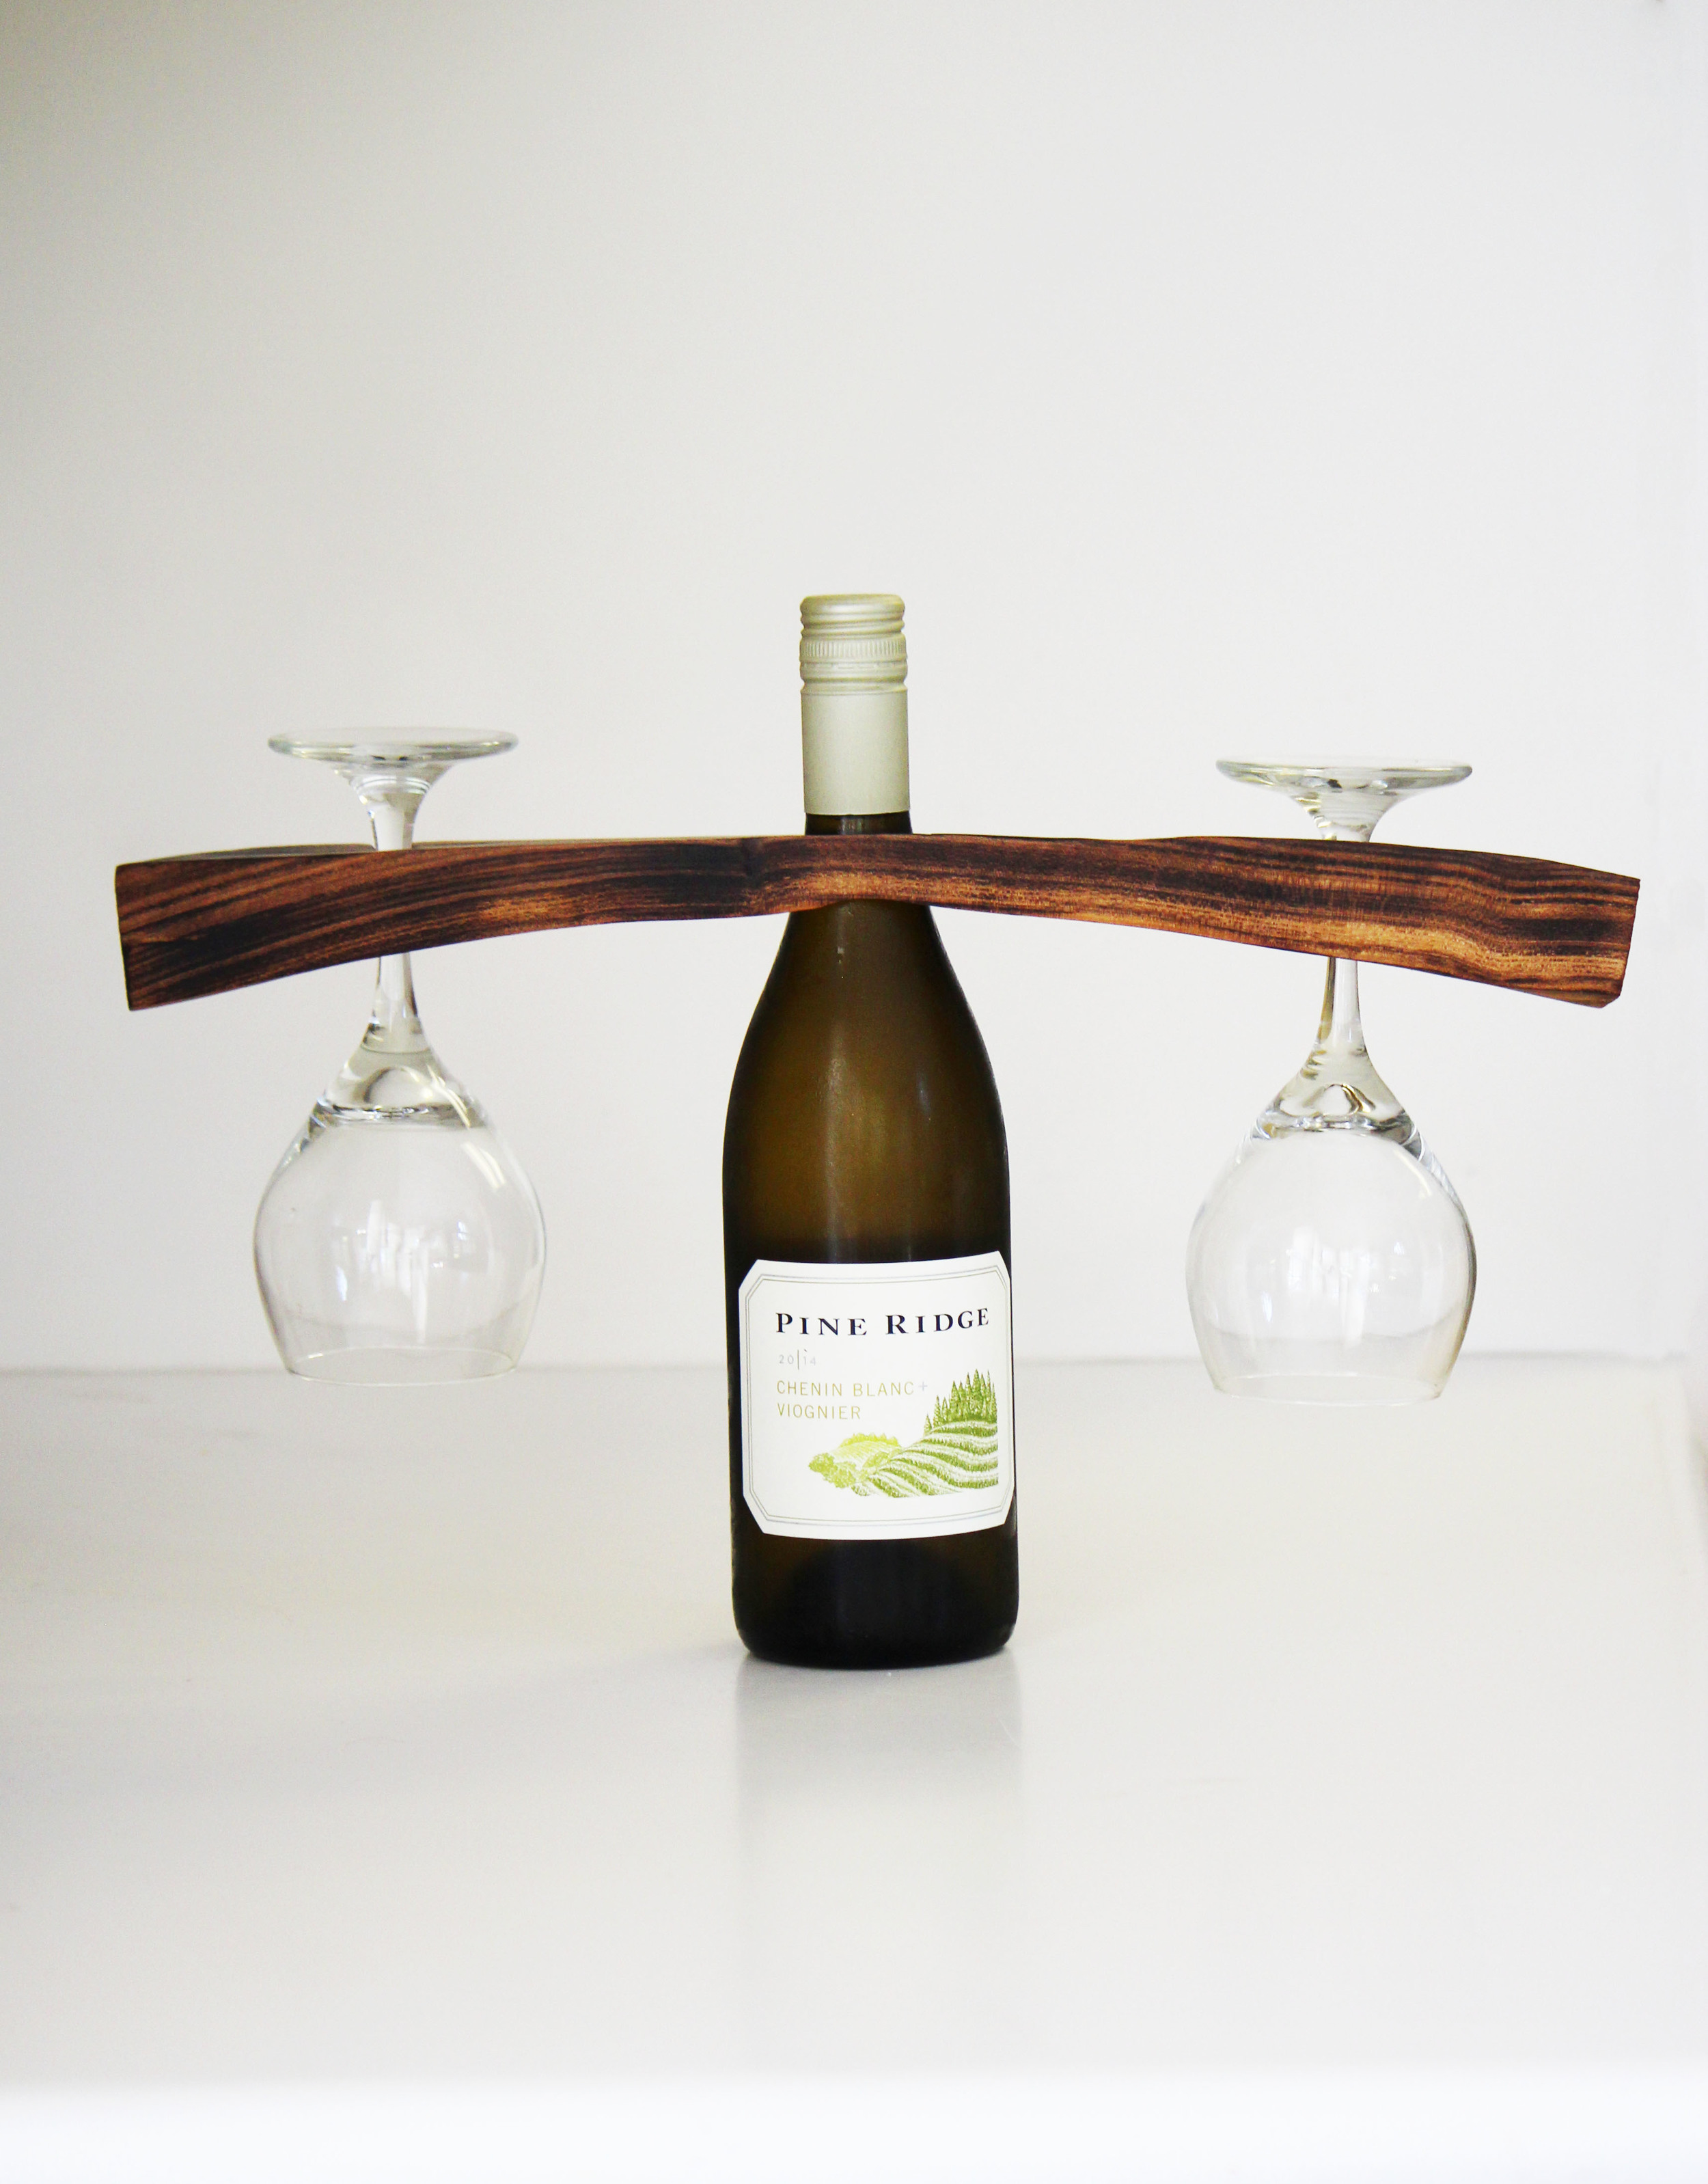
How gorgeous would these be on the tables of a fancy restaurant? Or as a centerpiece for a romantic dinner for two? I love the rustic, Texas feel it has, which is a nice contrast to a classy bottle of wine. You know, give it a little down-home feel.
According to Z, this is a really simple piece to make. After sitting down and having him explain the process to me, I question how easy it really is. I'll let you be the judge with these directions as told by Zach.
Cut a board long enough to where the glasses won't hit the bottle (I used mesquite wood). The board will be 1-1 1/2 feet long.
Use a 1 1/2-1 3/4 drill bit depending on the size of the bottle to drill a hole in the middle of the board.
Depending on the wine bottle type (champagne, red wine bottle, white wine bottle), the glasses will need to be further out. Different bottles have different neck widths, so assess what kind of bottle you'll be using.
Use wine bottle to measure how far to put the glasses. Take a tape measure and make sure the slits will be equal distance from the center hole.
Take a pencil and draw where the slits will go.
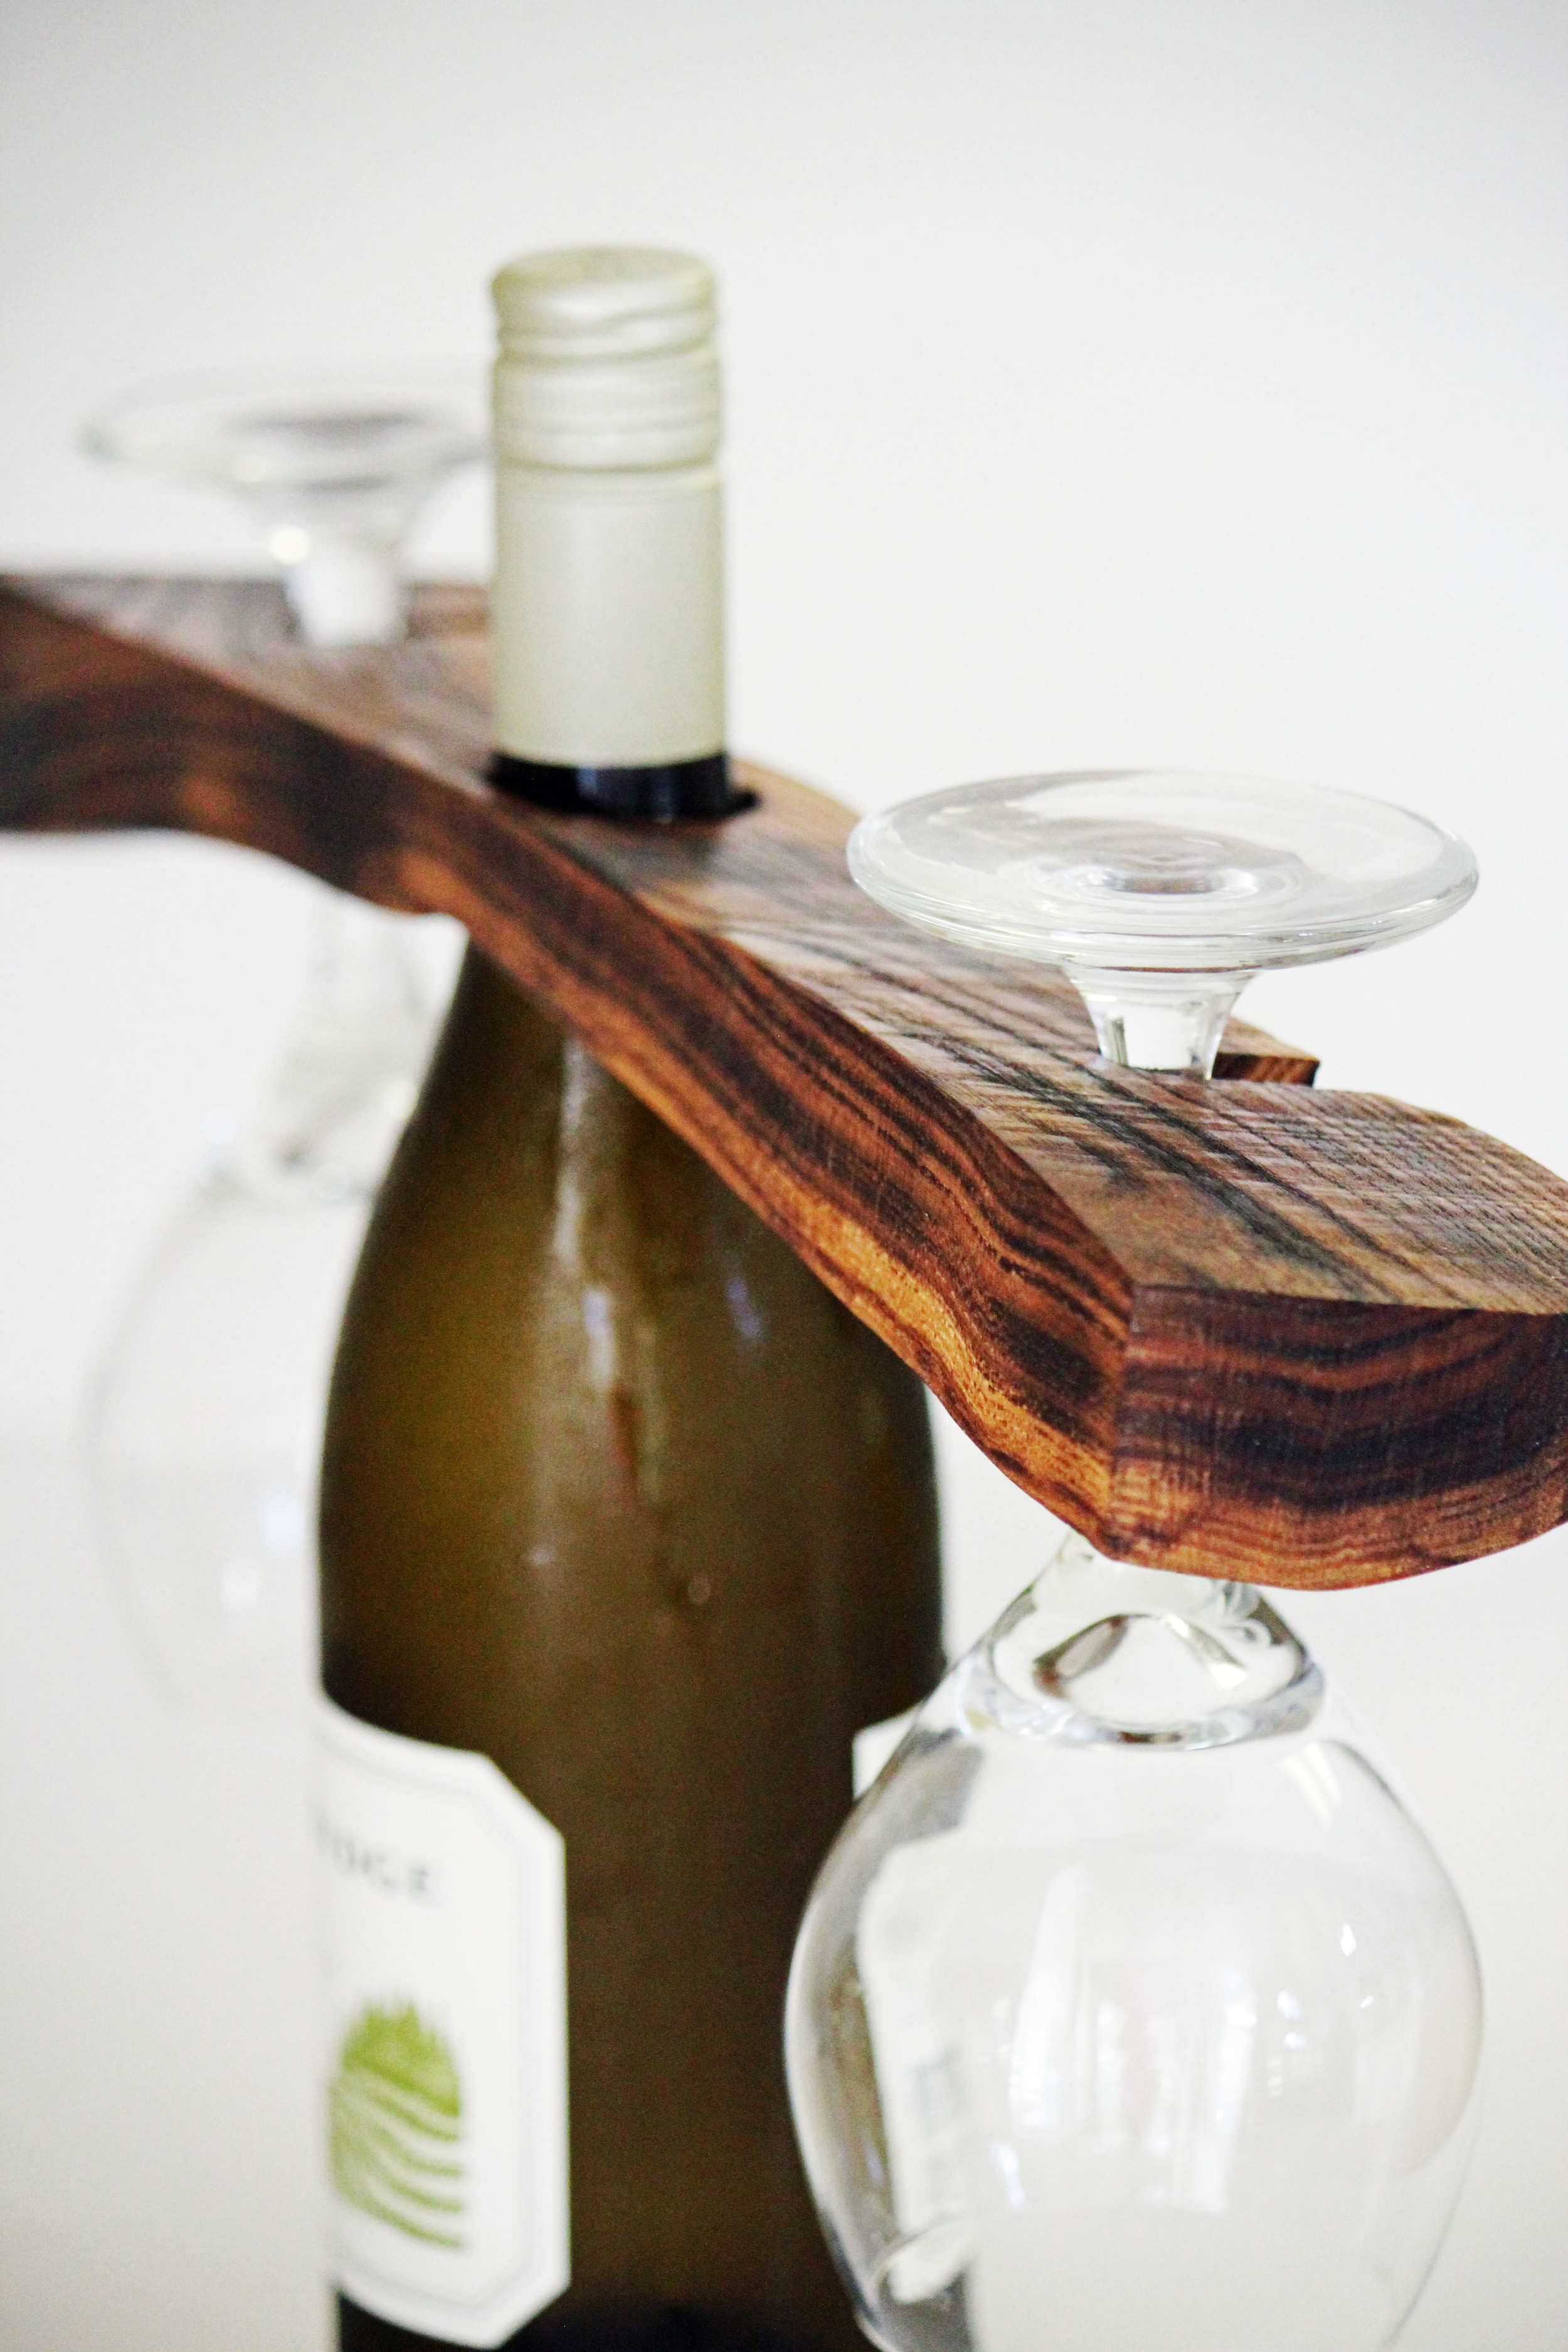
Using a bandsaw, saw the slits on each side to the desired length (about the middle of the wood).
Continue sawing wider and wider until you have a slit slightly wider than the stem of the glass (about 1/2 inch).
Taking a Dremel sander, sand the inside of the center hole to fit the contour of the wine bottle.
Use the Dremel sander inside both slits to smooth them out and create a slightly rounded inside edge.
Using a handheld sander, go through the progression of 80 grit and then 220 grit sandpaper on the entire wood piece.
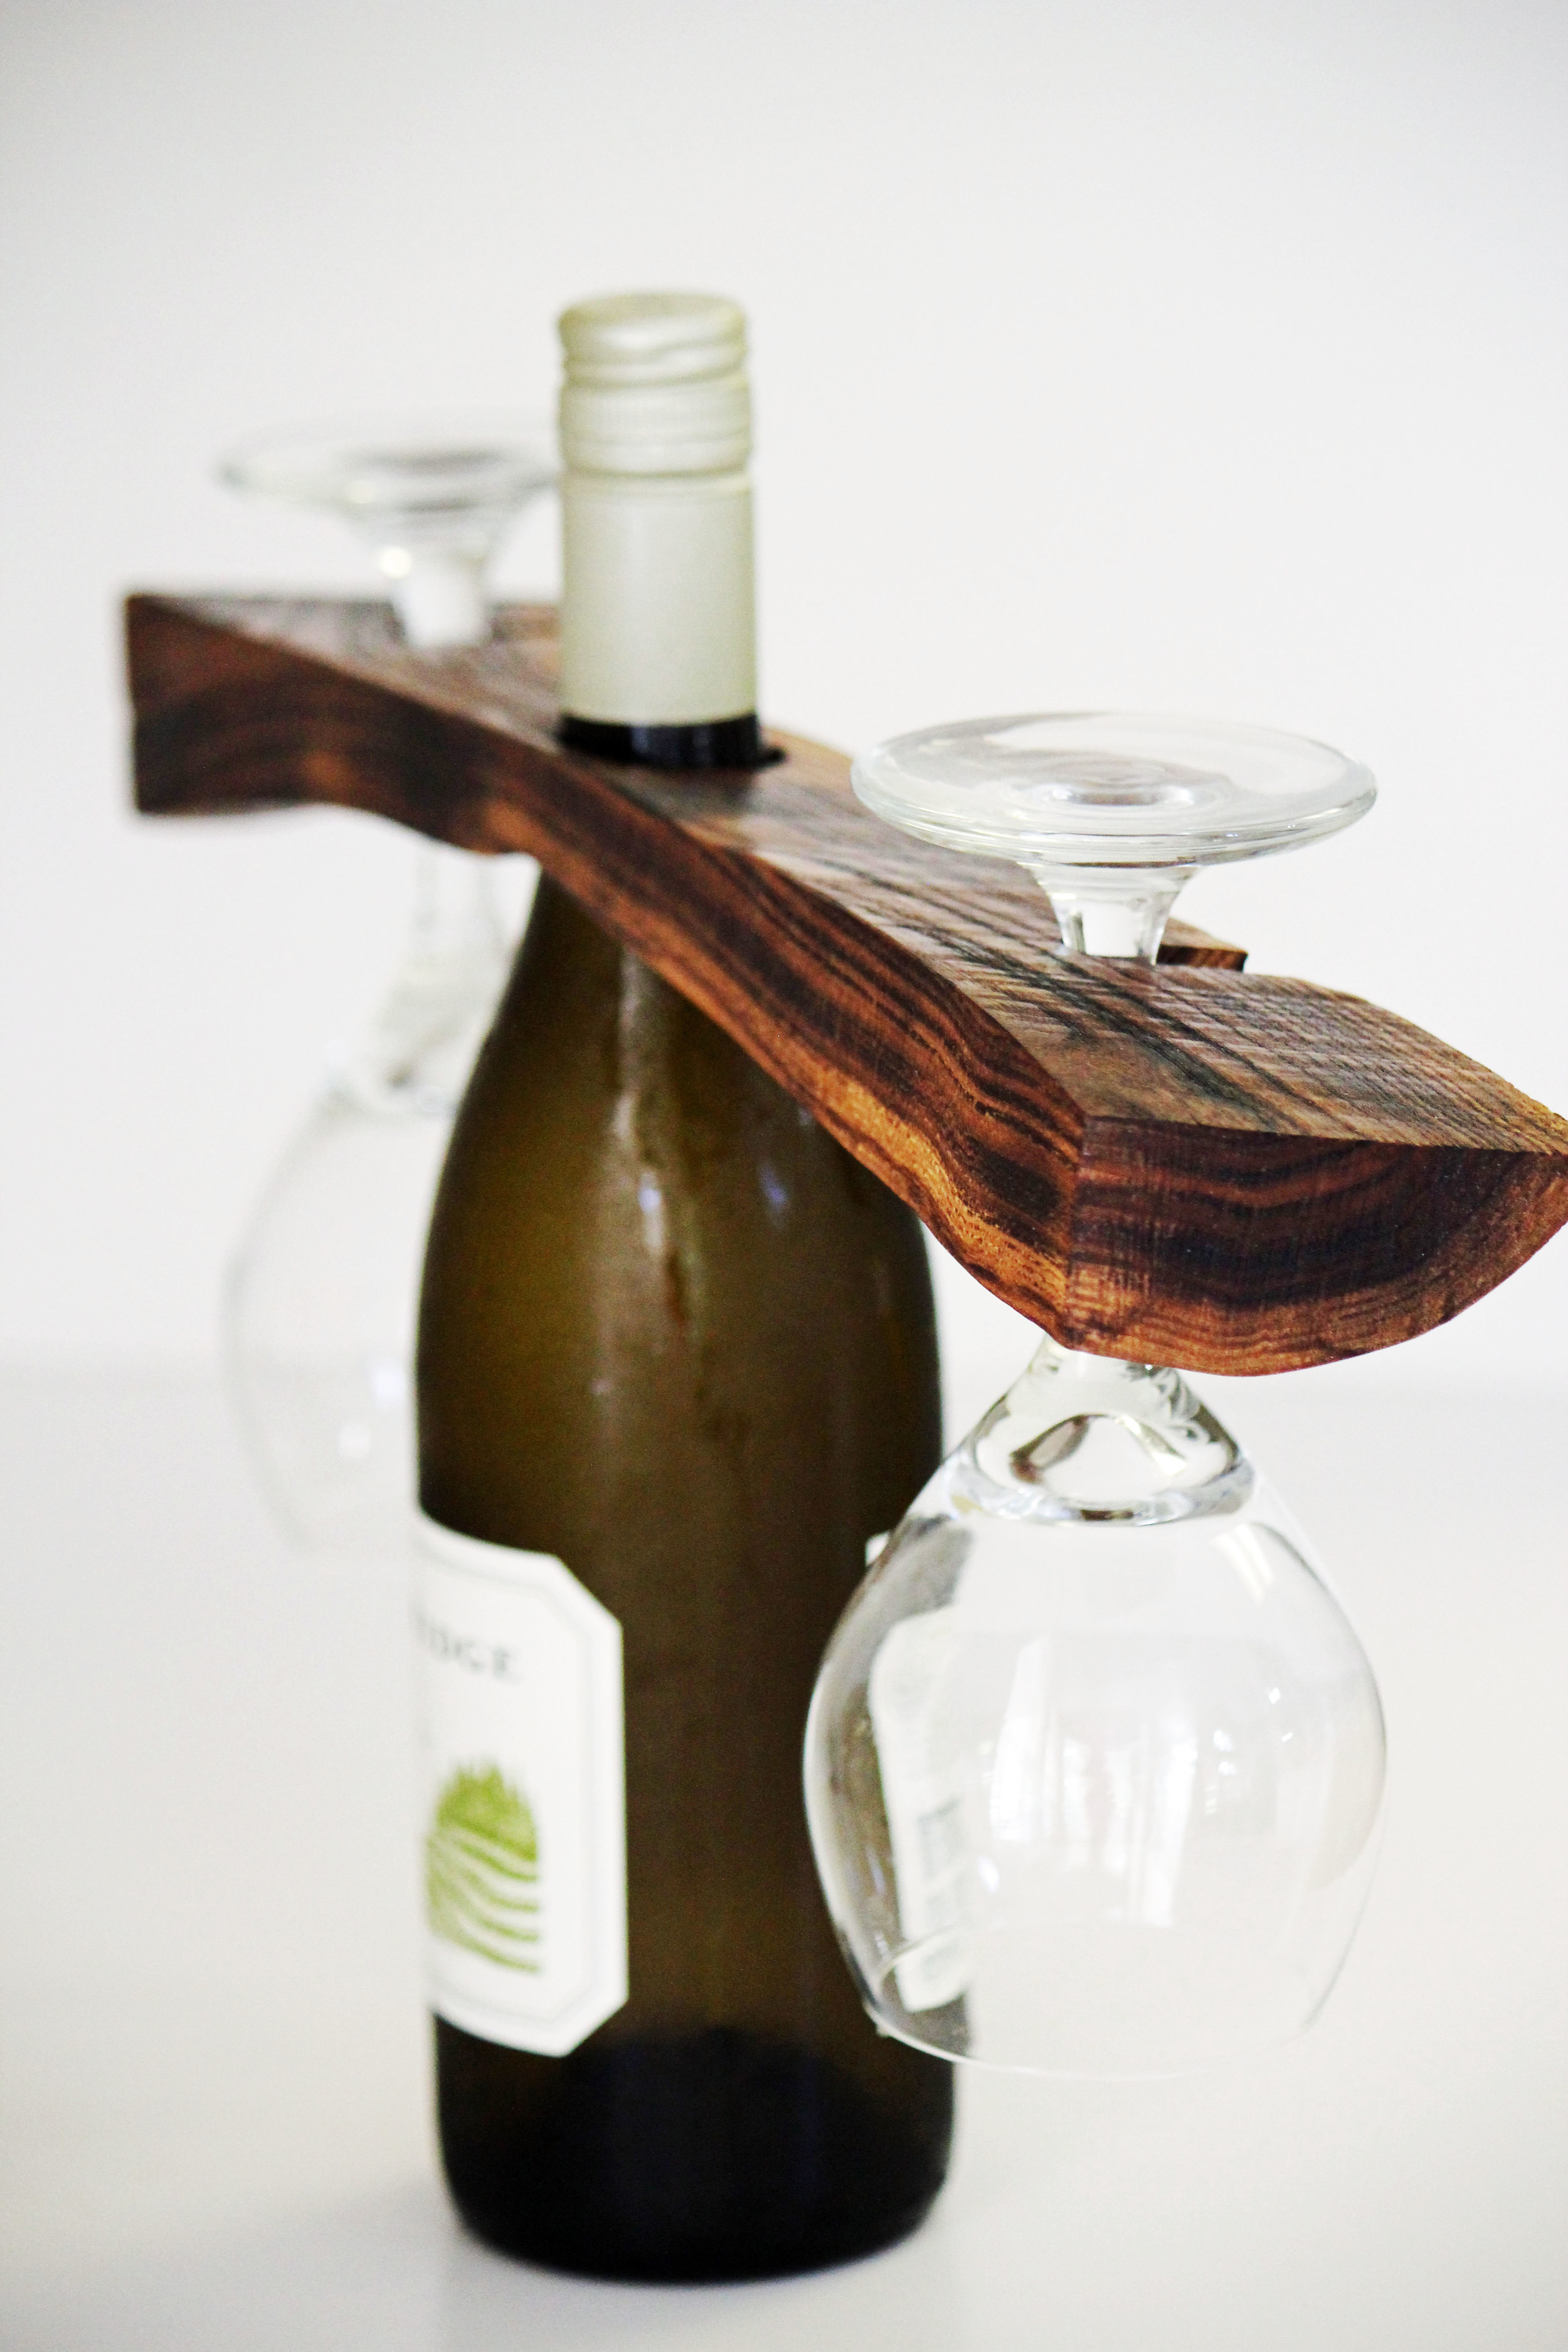
Taking a shop torch, heat up the wood to darken the grain and make it pop. This step also helps to harden the wood.
At this point, you can choose your preferred stain or finish. I used boiled linseed oil, which can be found at Home Depot or Lowes. I also used a beeswax and olive oil mixture to put a wax finish on the piece.

Are you just as lost as I am with those directions? Thank goodness I have a handyman husband or I'd never make it. He keeps this house running, for sure. I just get to add all the girly touches that he loves so much.
We've had such a fun weekend, full of birthday parties and trips to the pool. Bear's best friend Carson has spent the day with us and it's been nice birth control managing two for a day. Bear absolutely loves having a buddy over to make messes and play Star Wars Legos with, and I love seeing him so happy. In typical toddler fashion, they passed on lunch but have wanted constant snacks. They're so cute and funny. But still, birth control.
Hope you've had a great weekend! Sending big virtual hugs your way.
xo, Britt